Chicken Pot Pie Soup
Chicken Pot Pie Soup Recipe Introduction This soup takes the comforting flavors of a pot …

Chicken Pot Pie Soup Recipe Introduction This soup takes the comforting flavors of a pot …
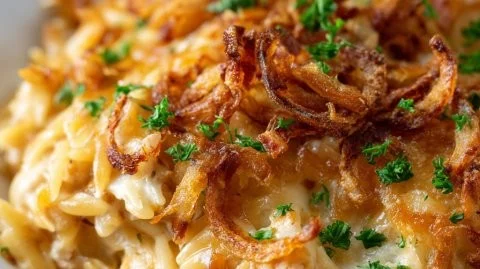
French Onion Chicken Orzo Casserole Introduction This casserole translates the savory, sweet essence of French …
High-Protein Honey Garlic Shrimp Introduction This High-Protein Honey Garlic Shrimp is a bright, fast weeknight …

Greek Chicken Bowls Introduction Bright, wholesome, and easy to personalize, Greek Chicken Bowls bring crisp …
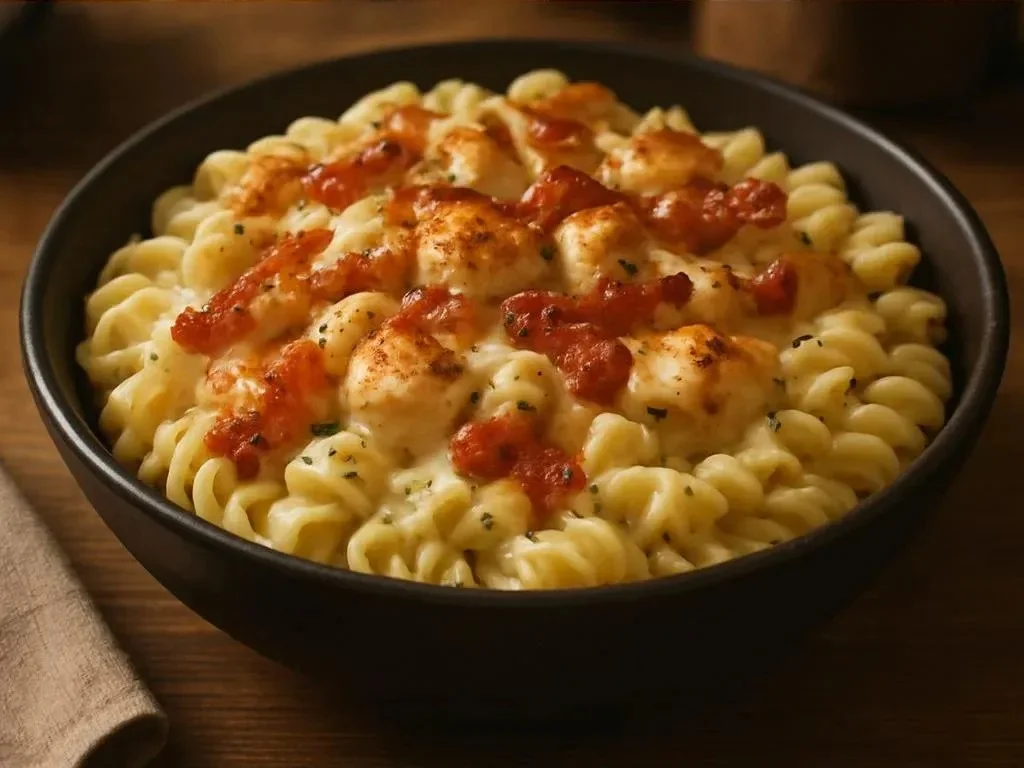
Chicken Bacon Ranch Pasta Introduction This Chicken Bacon Ranch Pasta is a cozy, creamy dinner …
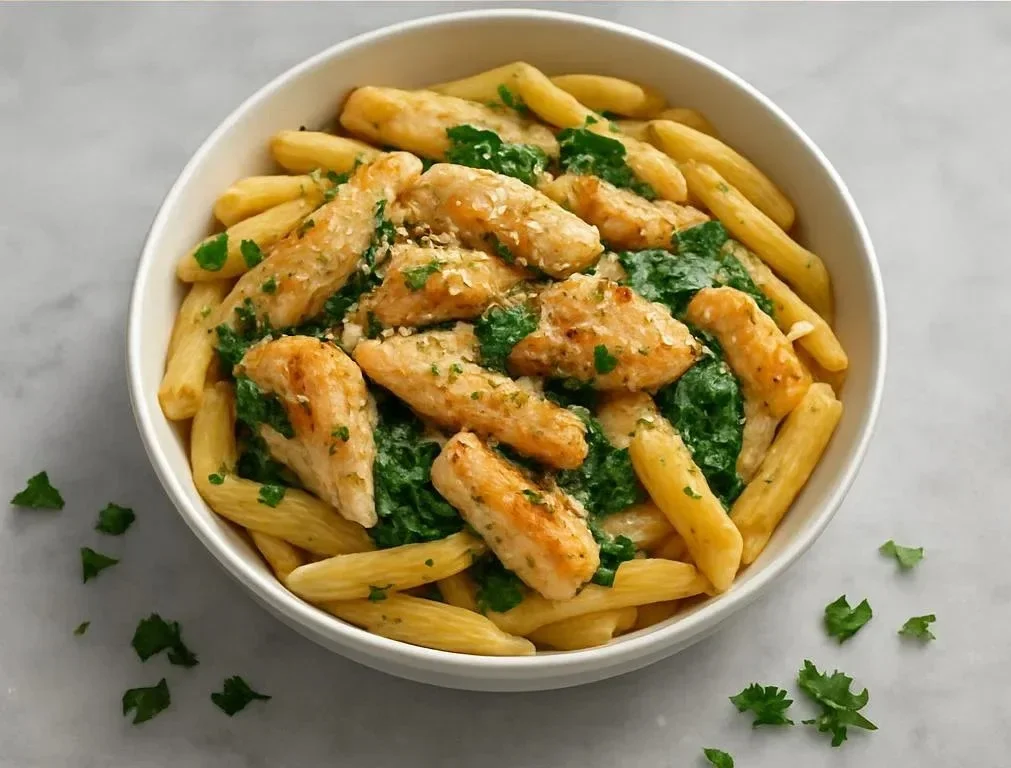
Healthy Garlic Parmesan Chicken Pasta This Healthy Garlic Parmesan Chicken Pasta lightens a classic creamy …
Garlic Butter Steak With Parmesan Cream Sauce Introduction There’s a comforting pleasure in a perfectly …
Sausage Egg Breakfast Roll-Ups – Quick & Easy Morning Treat! – mommyplates Introduction A warm, …
Tater Tot Casserole with Ground Beef Introduction Tater Tot Casserole with Ground Beef is a …
Garlic Butter Beef Bites with Potatoes Introduction This cozy, savory slow‑cooker recipe combines tender beef …

I'm the passionate food enthusiast and creative force behind this recipe website. My journey into the world of cooking began in my grandmother’s kitchen, where the aromas of fresh herbs and spices mixed with the warmth of family gatherings, igniting a lifelong love for food and cooking.