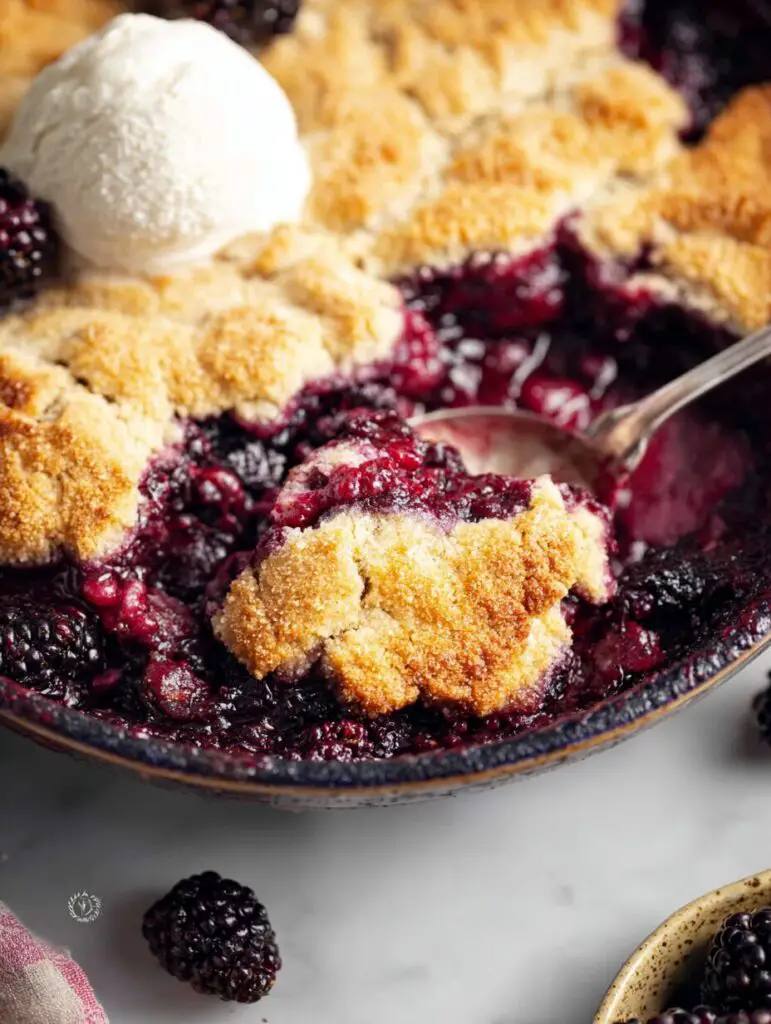
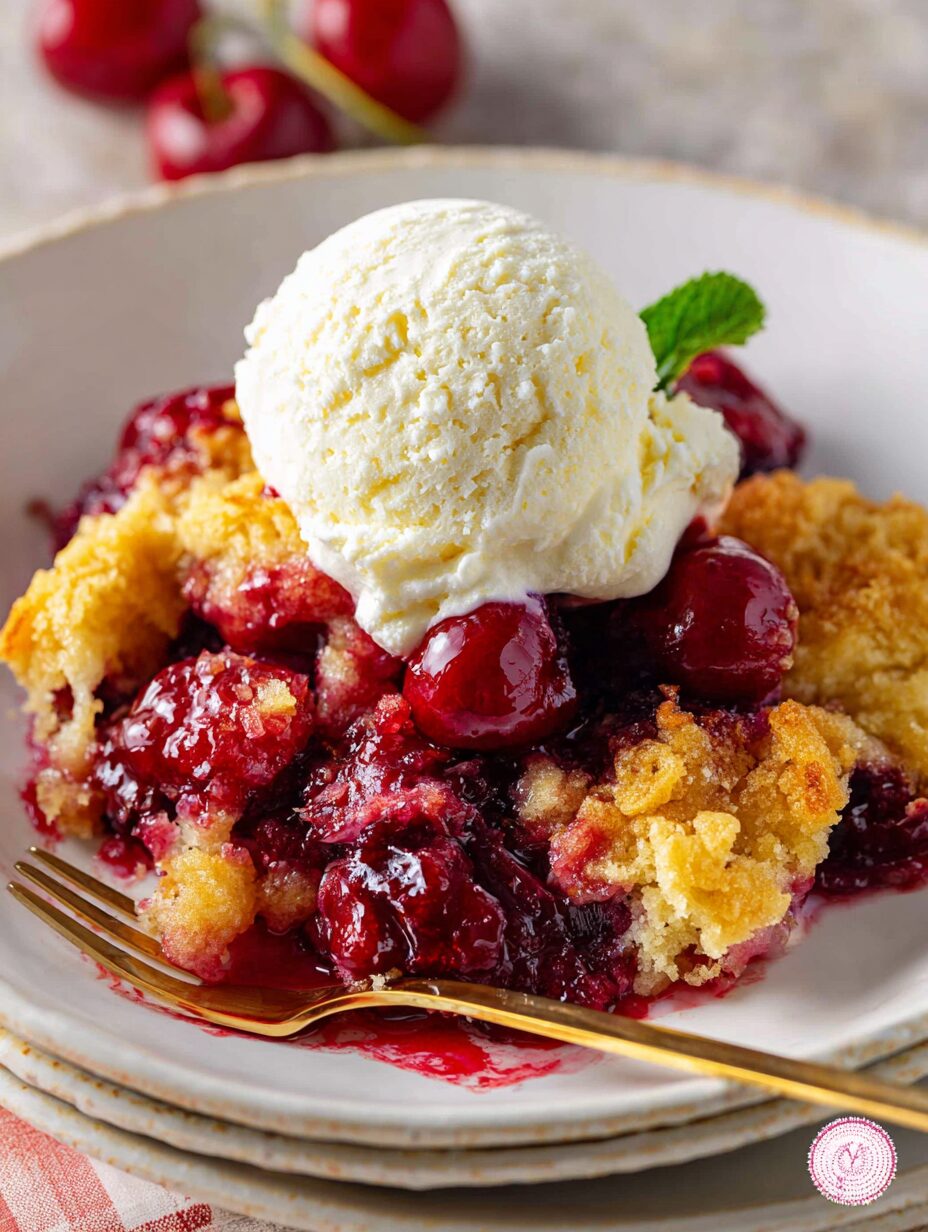
Introduction to Cherry Dump Cake
Hey there, fellow home cooks! If you’re anything like me, life can get pretty hectic. Between juggling work, kids, and everything in between, finding time to whip up a delicious dessert can feel like a daunting task. That’s where my beloved Cherry Dump Cake comes in! This easy cherry dump cake is a delightful treat that requires minimal effort but delivers maximum flavor. It’s the perfect solution for busy days or when you want to impress your loved ones without spending hours in the kitchen. Trust me, this dessert will quickly become a family favorite!
Why You’ll Love This Cherry Dump Cake
This Cherry Dump Cake is a game-changer for anyone short on time but big on flavor. It’s incredibly easy to make, requiring just a few simple ingredients and minimal prep. In less than an hour, you can have a warm, comforting dessert that tastes like it took all day to prepare. Plus, the sweet and tart cherry filling paired with a buttery cake topping is simply irresistible. Your family will be begging for seconds!
Ingredients for Cherry Dump Cake
Let’s gather our ingredients for this delightful Cherry Dump Cake! Each component plays a vital role in creating that perfect balance of flavors and textures. Here’s what you’ll need:
- Cherry Pie Filling: The star of the show! This sweet and tart filling adds a burst of flavor and moisture to the cake.
- Yellow Cake Mix: This is the base of our cake. It’s light, fluffy, and provides a lovely contrast to the cherry filling. You can use any brand you prefer!
- Unsalted Butter: Melted butter brings richness and helps create that golden, crispy top. I always opt for unsalted to control the saltiness.
- Chopped Nuts (optional): If you want to add a little crunch, sprinkle some chopped nuts on top. Walnuts or pecans work beautifully!
For those who might want to switch things up, feel free to substitute the cherry pie filling with other fruit fillings like blueberry or peach. The possibilities are endless!
Don’t worry about exact measurements just yet; you can find them at the bottom of the article for easy printing. Let’s get ready to bake!
How to Make Cherry Dump Cake
Now that we have our ingredients ready, let’s dive into the fun part—making this easy cherry dump cake! Follow these simple steps, and you’ll have a delicious dessert in no time.
Step 1: Preheat the Oven
First things first, preheat your oven to 350°F (175°C). Preheating is crucial because it ensures that your cake bakes evenly. A hot oven helps the cake mix rise beautifully, giving you that perfect golden top!
Step 2: Prepare the Cherry Filling
Next, grab your baking dish and spread the cherry pie filling evenly across the bottom. Use a spatula to make sure it’s nice and smooth. This layer is where all the magic begins, so don’t skimp on spreading it out!
Step 3: Add the Cake Mix
Now, it’s time to sprinkle the dry cake mix over the cherry filling. Make sure to cover it completely. No need to mix it in; just let it sit on top. The cake mix will absorb the cherry juices as it bakes, creating a delightful texture.
Step 4: Drizzle the Butter
Next, take your melted butter and drizzle it evenly over the cake mix. This step is key for achieving that crispy, buttery top. Don’t be shy—make sure every bit of cake mix gets a little love from the butter!
Step 5: Optional Nuts
If you’re feeling adventurous, sprinkle some chopped nuts on top. Walnuts or pecans add a lovely crunch and a nutty flavor that complements the cherries perfectly. Plus, it gives your cake a little extra flair!
Step 6: Bake
Pop your baking dish into the preheated oven and let it bake for 40-45 minutes. Keep an eye on it! You’ll know it’s done when the top is golden brown and a toothpick inserted in the center comes out clean. The aroma will be heavenly!
Step 7: Cool and Serve
Once baked, remove the cake from the oven and let it cool for a few minutes. This cooling time helps the flavors meld together. Serve it warm, and don’t forget to add a scoop of vanilla ice cream or a dollop of whipped cream for that extra touch of indulgence!

Tips for Success
- Use room temperature ingredients for better mixing.
- Don’t skip the cooling time; it enhances the flavors.
- Experiment with different fruit fillings for variety.
- Store leftovers in an airtight container for up to three days.
- Reheat individual servings in the microwave for a quick treat!
Equipment Needed
- 9×13 inch Baking Dish: A classic choice for this recipe. If you don’t have one, any similar-sized oven-safe dish will work.
- Spatula: Perfect for spreading the cherry filling. A large spoon can also do the trick!
- Mixing Bowl: For melting butter. A microwave-safe bowl is ideal.
- Oven Mitts: Essential for safely handling hot dishes.
Variations
- Berry Medley: Swap the cherry pie filling for a mix of blueberries, raspberries, and strawberries for a delightful berry dump cake.
- Chocolate Cherry: Add chocolate chips to the top before baking for a rich, decadent twist on the classic cherry flavor.
- Gluten-Free Option: Use a gluten-free cake mix to make this dessert suitable for those with gluten sensitivities.
- Vegan Version: Substitute the butter with coconut oil and use a plant-based cake mix for a vegan-friendly treat.
- Spiced Up: Add a teaspoon of cinnamon or nutmeg to the cake mix for a warm, spiced flavor that pairs beautifully with cherries.
Serving Suggestions
- Pair your Cherry Dump Cake with a scoop of vanilla ice cream for a classic combination.
- Serve with a dollop of whipped cream and a sprinkle of chopped nuts for added texture.
- For a refreshing drink, try serving it with iced tea or lemonade.
- Garnish with fresh cherries or mint leaves for a beautiful presentation.
FAQs about Cherry Dump Cake
As I’ve shared my love for this easy cherry dump cake, I know you might have a few questions. Here are some common queries that pop up, along with my answers to help you out!
Can I use fresh cherries instead of pie filling?
Absolutely! If you have fresh cherries, you can make your own filling. Just pit and slice them, then mix with a bit of sugar and cornstarch to thicken. It’s a delicious twist!
How do I store leftovers?
Store any leftover cherry dump cake in an airtight container at room temperature for up to three days. If you want to keep it longer, refrigerate it for up to a week.
Can I make this dessert ahead of time?
Yes! You can prepare the cherry dump cake and keep it unbaked in the fridge for a day. Just pop it in the oven when you’re ready to enjoy it!
What can I serve with Cherry Dump Cake?
This dessert pairs wonderfully with whipped cream or vanilla ice cream. You can also serve it with a drizzle of chocolate sauce for an extra indulgent treat!
Is Cherry Dump Cake suitable for special diets?
Yes! You can easily adapt this recipe for gluten-free or vegan diets by using the appropriate cake mix and substitutes. It’s a versatile dessert that everyone can enjoy!

Final Thoughts
Making this Cherry Dump Cake is more than just baking; it’s about creating sweet memories with your loved ones. The joy of pulling a warm, golden dessert from the oven, with that irresistible aroma wafting through your home, is simply unmatched. Whether it’s a busy weeknight or a special occasion, this easy cherry dump cake brings a touch of comfort and happiness to the table. I hope you find as much joy in making it as I do. So, gather your ingredients, and let’s create something delicious together that will have everyone asking for seconds!
Print
Cherry Dump Cake: Discover Its Easy Recipe Today!
- Total Time: 55 minutes
- Yield: 12 servings
- Diet: Vegetarian
Description
Cherry Dump Cake is a simple and delicious dessert that combines cherry pie filling and cake mix for a quick and easy treat.
Ingredients
- 1 can cherry pie filling (21 oz)
- 1 box yellow cake mix (15.25 oz)
- 1/2 cup unsalted butter (1 stick, melted)
- 1/2 cup chopped nuts (optional)
Instructions
- Preheat your oven to 350°F (175°C).
- Spread the cherry pie filling evenly in the bottom of a 9×13 inch baking dish.
- Sprinkle the dry cake mix evenly over the cherry filling.
- Drizzle the melted butter over the cake mix.
- If using, sprinkle chopped nuts on top.
- Bake in the preheated oven for 40-45 minutes, or until the top is golden brown.
- Let cool slightly before serving. Enjoy!
Notes
- Serve with whipped cream or vanilla ice cream for added flavor.
- Feel free to substitute cherry pie filling with other fruit fillings like blueberry or peach.
- This dessert is best served warm.
- Prep Time: 10 minutes
- Cook Time: 45 minutes
- Category: Dessert
- Method: Baking
- Cuisine: American
Nutrition
- Serving Size: 1 slice
- Calories: 250
- Sugar: 20g
- Sodium: 200mg
- Fat: 10g
- Saturated Fat: 5g
- Unsaturated Fat: 3g
- Trans Fat: 0g
- Carbohydrates: 36g
- Fiber: 1g
- Protein: 2g
- Cholesterol: 30mg


