Introduction to Chocolate Cherry Upside Down Cake
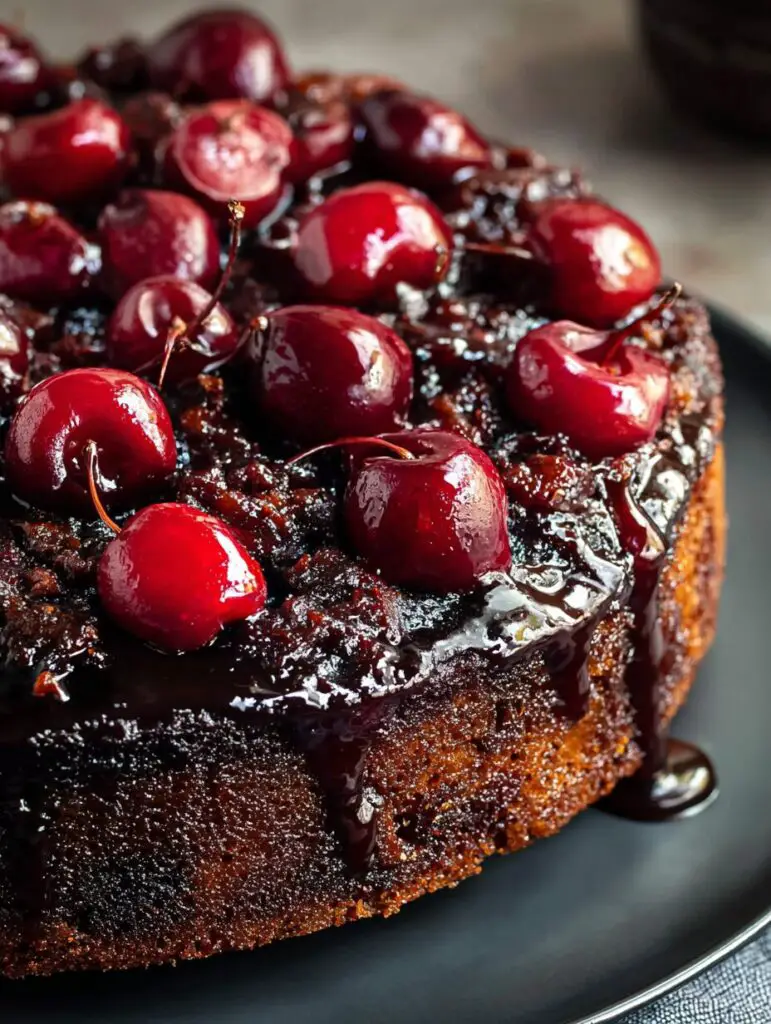
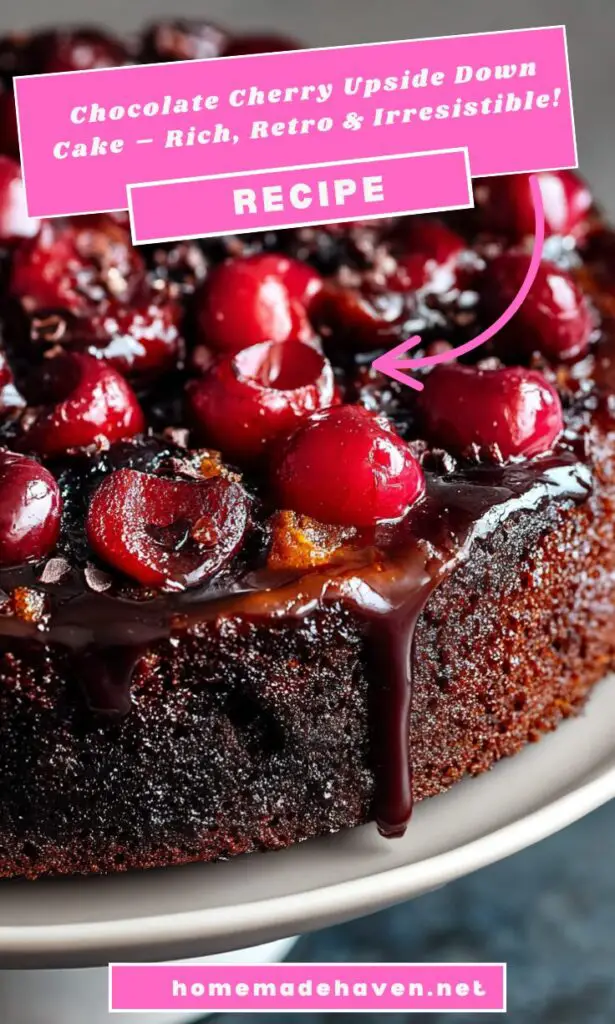
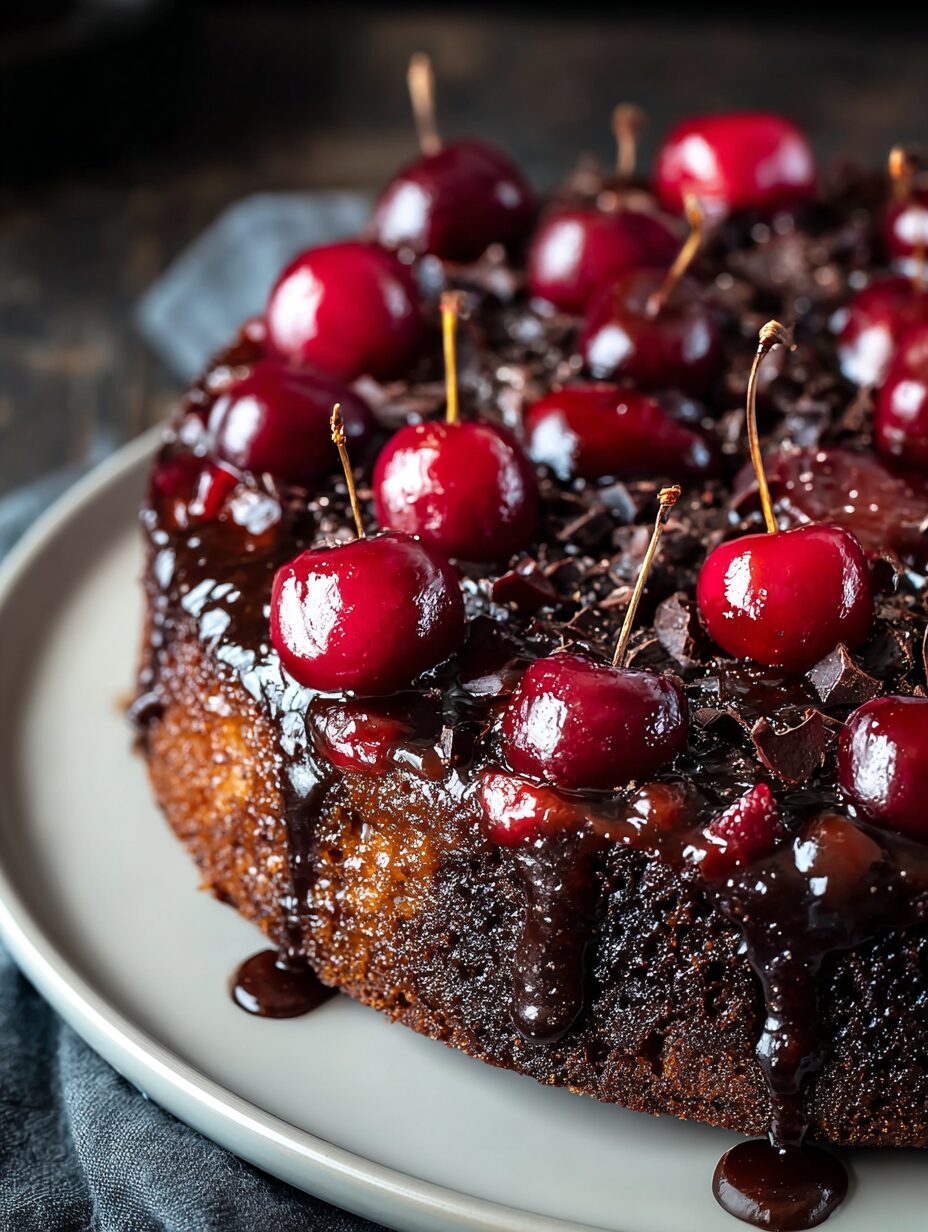
Hey there, fellow dessert lovers! If you’re anything like me, you know that life can get pretty hectic. Between juggling work, family, and everything in between, finding time to whip up something special can feel impossible. That’s where this delightful Chocolate Cherry Upside Down Cake comes in! It’s not just a treat for the taste buds; it’s a showstopper that will impress your loved ones without taking hours in the kitchen. With its rich chocolate flavor and sweet cherry topping, this cake is perfect for any occasion, whether it’s a cozy family dinner or a festive gathering.
Why You’ll Love This Chocolate Cherry Upside Down Cake
This Chocolate Cherry Upside Down Cake is a dream come true for busy moms and professionals alike. It’s quick to prepare, taking just 15 minutes of your time, and the baking process is a breeze. The combination of rich chocolate and sweet cherries creates a flavor explosion that will have everyone asking for seconds. Plus, it’s visually stunning, making it a perfect centerpiece for any gathering!
Ingredients for Chocolate Cherry Upside Down Cake
Let’s gather our ingredients for this delightful Chocolate Cherry Upside Down Cake! Each component plays a vital role in creating that perfect balance of flavors and textures. Here’s what you’ll need:
- All-purpose flour: This is the backbone of our cake, providing structure and stability.
- Unsweetened cocoa powder: For that rich chocolate flavor, cocoa powder is essential. You can opt for dark chocolate cocoa for an even deeper taste.
- Granulated sugar: This sweetener adds the necessary sweetness to balance the cocoa’s bitterness.
- Unsalted butter: Softened butter gives the cake a moist texture and rich flavor. If you’re in a pinch, you can use margarine.
- Large eggs: Eggs help bind the ingredients together and add moisture. Make sure they’re at room temperature for the best results.
- Vanilla extract: A splash of vanilla enhances the overall flavor, making it more aromatic and delicious.
- Milk: This adds moisture to the batter, ensuring a tender crumb. You can substitute with almond milk or any non-dairy option if needed.
- Pitted cherries: The star of our cake! These sweet cherries add a burst of flavor and a beautiful presentation.
- Brown sugar: This adds a hint of caramel flavor and moisture, making the cherry base extra delicious.
- Cherry juice: This enhances the cherry flavor and helps create a lovely syrupy base for the cake.
For exact measurements, check the bottom of the article where you can find everything listed for easy printing. Now that we have our ingredients ready, let’s dive into the fun part—baking!
How to Make Chocolate Cherry Upside Down Cake
Now that we have our ingredients ready, let’s get to the fun part—baking this Chocolate Cherry Upside Down Cake! Follow these simple steps, and you’ll have a delicious dessert that will wow your family and friends.
Step 1: Preheat the Oven
First things first, preheat your oven to 350°F (175°C). Preheating is crucial because it ensures that your cake bakes evenly. A hot oven helps the cake rise properly, giving it that fluffy texture we all love. So, don’t skip this step!
Step 2: Prepare the Cherry Base
In a small bowl, mix the brown sugar and cherry juice until well combined. This mixture will create a sweet syrupy base for our cherries. Next, grease your cake pan generously. This step is vital to prevent the cake from sticking when it’s time to flip it over. Trust me, you want a smooth release!
Step 3: Arrange the Cherries
Now, it’s time to arrange the cherries! Place the drained cherries evenly over the sugar mixture in the pan. You can get creative here—arranging them in a circular pattern or a fun design adds a lovely touch. This will be the beautiful top of your cake once it’s flipped!
Step 4: Cream the Butter and Sugar
In a separate bowl, cream together the softened butter and granulated sugar until the mixture is light and fluffy. This process is essential for incorporating air into the batter, which helps the cake rise. It’s like giving your cake a little boost of happiness!
Step 5: Add Eggs and Vanilla
Next, add the eggs one at a time, mixing well after each addition. This step is important because it allows each egg to fully incorporate into the batter, creating a smooth texture. Don’t forget to stir in the vanilla extract for that extra layer of flavor!
Step 6: Combine Dry Ingredients
In another bowl, whisk together the all-purpose flour and cocoa powder. This step is crucial because it ensures that the cocoa is evenly distributed throughout the flour. A well-mixed dry ingredient blend leads to a more consistent cake texture.
Step 7: Mix Wet and Dry Ingredients
Now, it’s time to combine the wet and dry ingredients! Gradually add the flour mixture to the butter mixture, alternating with the milk. This method helps to keep the batter smooth and prevents lumps. Mix until just combined—overmixing can lead to a dense cake!
Step 8: Pour the Batter
Carefully pour the batter over the arranged cherries in the cake pan. Try to do this gently to avoid disturbing the cherries. You want them to stay beautifully in place, ready to shine when the cake is flipped!
Step 9: Bake the Cake
Pop the cake into your preheated oven and bake for 30-35 minutes. To check for doneness, insert a toothpick into the center. If it comes out clean, your cake is ready! Once baked, let it cool in the pan for about 10 minutes before inverting it onto a serving plate. This cooling time is essential for the cake to set properly.

Tips for Success
- Always use room temperature ingredients for a smoother batter.
- Don’t skip greasing the pan; it’s key for a clean release.
- For a richer flavor, opt for dark chocolate cocoa powder.
- Let the cake cool before inverting to prevent breakage.
- Serve with whipped cream or ice cream for an indulgent treat!
Equipment Needed
- Cake pan: A 9-inch round pan works best, but a square pan is a great alternative.
- Mixing bowls: Use medium and large bowls for mixing ingredients; any size will do!
- Whisk: A hand whisk or electric mixer will help achieve that fluffy batter.
- Spatula: A rubber spatula is perfect for scraping down the sides of the bowl.
- Toothpick: Essential for checking the cake’s doneness.
Variations
- Gluten-Free: Substitute all-purpose flour with a gluten-free flour blend for a delicious gluten-free version.
- Vegan: Replace eggs with flax eggs (1 tablespoon ground flaxseed mixed with 2.5 tablespoons water per egg) and use plant-based butter and milk.
- Nutty Twist: Add chopped walnuts or pecans to the batter for a delightful crunch and extra flavor.
- Spiced Up: Incorporate a teaspoon of cinnamon or a pinch of nutmeg into the dry ingredients for a warm, spiced flavor.
- Berry Blend: Mix in some blueberries or raspberries along with the cherries for a mixed berry upside-down cake!
Serving Suggestions
- Pair with a dollop of whipped cream for a light and airy contrast.
- Serve alongside a scoop of vanilla ice cream for a decadent treat.
- Drizzle with chocolate sauce for an extra indulgent touch.
- Garnish with fresh mint leaves for a pop of color.
- Enjoy with a cup of coffee or tea for a cozy dessert experience.
FAQs about Chocolate Cherry Upside Down Cake
As you embark on your baking adventure with this Chocolate Cherry Upside Down Cake, you might have a few questions. Here are some common queries that can help you along the way:
Can I use fresh cherries instead of canned?
Absolutely! Fresh cherries can be a delightful substitute. Just make sure to pit and slice them before arranging them in the pan. They’ll add a lovely burst of flavor!
How do I store leftovers?
Store any leftover Chocolate Cherry Upside Down Cake in an airtight container at room temperature for up to three days. If you want to keep it longer, consider refrigerating it.
Can I make this cake ahead of time?
Yes! You can bake the cake a day in advance. Just let it cool completely, then cover it tightly. When you’re ready to serve, simply invert it onto a plate and enjoy!
What can I serve with this cake?
This cake pairs wonderfully with whipped cream or vanilla ice cream. A drizzle of chocolate sauce or a sprinkle of powdered sugar can elevate it even more!
Is this cake suitable for special diets?
With a few simple substitutions, you can make this Chocolate Cherry Upside Down Cake gluten-free or vegan. Check out the variations section for tips on how to adapt the recipe!

Final Thoughts
There’s something truly magical about baking a Chocolate Cherry Upside Down Cake. The aroma of chocolate fills your kitchen, wrapping you in a warm embrace. As you flip the cake and reveal the glistening cherries, it feels like unwrapping a gift. This dessert isn’t just about taste; it’s about creating memories with loved ones. Whether it’s a family gathering or a quiet evening at home, this cake brings joy to every occasion. So, roll up your sleeves, gather your ingredients, and let the baking adventure begin. Trust me, your taste buds will thank you!
Print
Chocolate Cherry Upside Down Cake: A Delightful Recipe!
- Total Time: 50 minutes
- Yield: 8 servings
- Diet: Vegetarian
Description
A delicious and visually stunning dessert featuring a rich chocolate cake topped with sweet cherries, perfect for any occasion.
Ingredients
- 1 cup all-purpose flour
- 1/2 cup unsweetened cocoa powder
- 1 cup granulated sugar
- 1/2 cup unsalted butter, softened
- 2 large eggs
- 1 teaspoon vanilla extract
- 1/2 cup milk
- 1 can (15 oz) pitted cherries, drained
- 1/4 cup brown sugar
- 1/4 cup cherry juice
Instructions
- Preheat the oven to 350°F (175°C).
- In a bowl, mix the brown sugar and cherry juice, then pour it into the bottom of a greased cake pan.
- Arrange the drained cherries over the sugar mixture.
- In a separate bowl, cream together the butter and granulated sugar until light and fluffy.
- Add the eggs one at a time, mixing well after each addition, then stir in the vanilla.
- In another bowl, combine the flour and cocoa powder.
- Gradually add the dry ingredients to the wet mixture, alternating with the milk, until just combined.
- Pour the batter over the cherries in the cake pan.
- Bake for 30-35 minutes or until a toothpick inserted in the center comes out clean.
- Let the cake cool for 10 minutes before inverting onto a serving plate.
Notes
- For a richer flavor, use dark chocolate cocoa powder.
- Serve with whipped cream or vanilla ice cream for added indulgence.
- Store leftovers in an airtight container at room temperature for up to 3 days.
- Prep Time: 15 minutes
- Cook Time: 35 minutes
- Category: Dessert
- Method: Baking
- Cuisine: American
Nutrition
- Serving Size: 1 slice
- Calories: 250
- Sugar: 20g
- Sodium: 150mg
- Fat: 10g
- Saturated Fat: 5g
- Unsaturated Fat: 3g
- Trans Fat: 0g
- Carbohydrates: 35g
- Fiber: 2g
- Protein: 3g
- Cholesterol: 40mg


