


Introduction
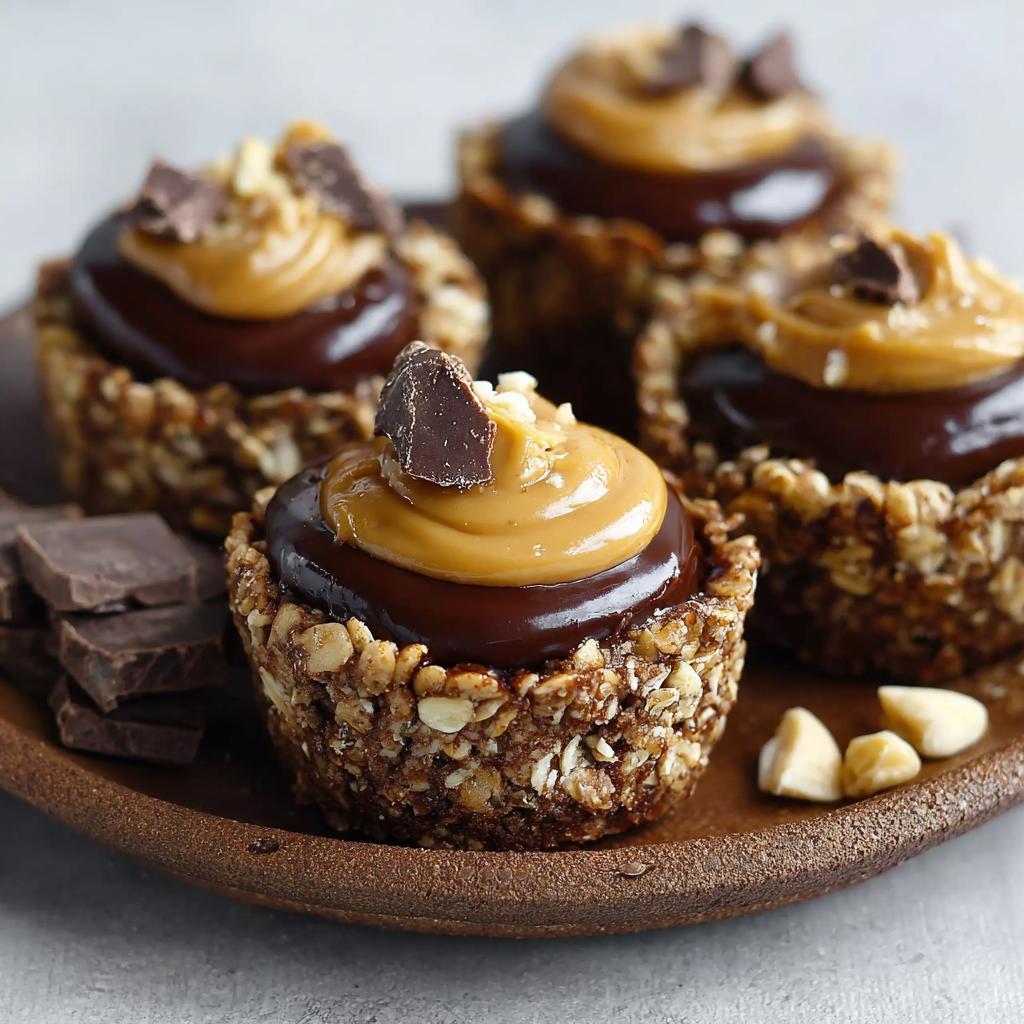
There's something irresistible about the combination of chocolate and peanut butter, a pairing that evokes comfort and indulgence. These chocolate granola cups serve as a delightful twist on traditional snacks, elevating your everyday granola into a sophisticated treat. Perfect for a quick breakfast, a satisfying snack, or a sweet dessert, these cups are not only delicious but also easy to make.
Using wholesome ingredients, these chocolate granola cups encapsulate the crunch of granola with a rich, creamy peanut butter filling. The recipe calls for layers of texture and flavor, ensuring every bite is an experience. You’ll surely impress family and friends with this delightful and nutritious creation that combines sweetness with a touch of health.
Ingredients
- 2 cups rolled oats
Rolled oats are the primary base for the granola cups, providing essential fiber and a chewy texture. They help bind the mixture together while being a great source of sustained energy. - ½ cup cocoa powder
Cocoa powder imparts a rich chocolate flavor to the granola cups. It adds depth and satisfies the chocolate cravings while also contributing a powerful antioxidant boost. - ½ cup honey or maple syrup
This natural sweetener not only binds the dry ingredients but also adds moisture to the granola cups. Honey or maple syrup offers a touch of sweetness that complements the bitterness of cocoa. - ¼ cup coconut oil, melted
Coconut oil serves as a healthier fat option that enhances flavor and aids in achieving the desired crispness in the granola. It's a plant-based choice that also provides healthy fats. - 1 teaspoon vanilla extract
Vanilla extract is key in elevating the overall flavor profile. It adds a warm, aromatic note that beautifully complements the richness of chocolate. - ¼ teaspoon salt
Salt is crucial in enhancing flavors and balancing out the sweetness of the other ingredients. Just a pinch can elevate the overall taste of chocolate. - ¾ cup peanut butter
As the star of the filling, peanut butter provides creaminess and a nutty flavor that's hard to resist. It's also packed with protein, making these cups more satisfying and nutritious. - ½ cup dark chocolate chips
Dark chocolate chips add an extra layer of decadence, providing melty pieces within the cups that heighten the chocolate experience. They also bring a touch of sweetness and richness that balances the peanut butter.
Directions & Preparation
Step 1: Preheat the oven to 350°F (175°C).
Preheating the oven allows for even cooking and ensures that the granola cups set properly. This step is crucial for achieving a crispy texture without overbaking or burning them.
Step 2: In a large bowl, combine rolled oats, cocoa powder, honey (or maple syrup), melted coconut oil, vanilla extract, and salt.
Mixing all dry ingredients with the wet ones brings out the flavors and textures beautifully. The mixture should be well combined to ensure every cup is equally flavored and cohesive. This step is essential for achieving the right consistency.
Step 3: Scoop the oat mixture into a greased muffin tin, pressing down firmly to create the cup shape.
Pressing the mixture firmly into the muffin tin is vital for the cups to hold their shape during baking. If not pressed enough, the cups may crumble upon removal, while too much pressure can lead to dense granola.
Step 4: Bake for 10-12 minutes or until they are slightly crisp.
Baking the cups allows the oats to toast and develop flavor. It's important to keep an eye on them, as overbaking can lead to dry cups. They should be lightly golden on the edges for the best texture.
Step 5: Let the cups cool in the tin for 5 minutes before transferring them to a wire rack.
Cooling the cups in the tin allows them to firm up as they cool, making them easier to remove. This step prevents breakage and helps maintain their shape for a perfect presentation.
Step 6: While the cups cool, prepare the peanut butter filling by mixing peanut butter and dark chocolate chips in a small bowl.
This filling combines flavors and creates a rich, creamy center for each granola cup. Melting the chocolate with the peanut butter makes it easier to scoop and adds an additional layer of indulgence.
Step 7: Once cooled, fill each granola cup with a generous dollop of the peanut butter mixture.
Adding the filling after cooling ensures the granola cups won't melt or distort the shape. Use a spoon or piping bag for neatness, making each cup appealing and ready to serve.
Step 8: Chill the cups in the refrigerator for at least 30 minutes to set the filling.
Chilling helps the filling firm up, allowing the flavors to meld together. This step enhances the overall texture, making the cups even more satisfying as they become easier to handle and eat.
Step 9: Enjoy your chocolate granola cups as a satisfying snack or breakfast treat!
These chocolate granola cups are versatile and can be enjoyed at any time of the day. Their balance of flavors and textures makes them a delightful treat that feels indulgent yet wholesome.
Tips for Perfecting Your Granola Cups
To achieve the ideal granola cup, ensure the oat mixture is well-combined before pressing it into the muffin tin. Using a fork can help evenly mix all ingredients, while experimenting with the type of sweetener can result in different textures. Additionally, pressing firmly but not excessively will yield cups that are both sturdy and enjoyable.
Flavor Variations to Explore
Feel free to personalize your granola cups! Incorporating spices like cinnamon or nutmeg can add warmth, while replacing peanut butter with almond or cashew butter offers a delightful twist. Tossing in some chopped nuts or dried fruit can also elevate the flavor profile and create a custom energy snack tailored to your preferences.
Serving and Pairing Suggestions
These chocolate granola cups are delightful on their own but can be enhanced with fresh fruits like bananas or berries. A drizzle of honey or a sprinkle of sea salt can elevate the experience further. They also pair excellently with a cup of coffee or a cold glass of milk, making them ideal for breakfast or a post-workout snack.
FAQs
What if my peanut butter filling is too thick?
If your peanut butter filling is too thick, gently warm it in the microwave for 10-15 seconds, then stir to incorporate. This will make it easier to dollop into the granola cups.
Can I substitute the cocoa powder for carob powder?
Yes, carob powder can be used as a substitute for cocoa powder, providing a naturally sweet flavor without caffeine, making it a great alternative for those sensitive to chocolate.
How can I make the granola cups sweeter?
If you prefer sweeter granola cups, consider adding more honey or maple syrup to the oat mixture, keeping in mind that the filling will also contribute sweetness.
What should I do if the granola cups stick to the muffin tin?
If the granola cups stick, ensure you thoroughly grease the muffin tin before adding the mixture. You can also use silicone muffin cups for easier release.
Can I use crunchy peanut butter instead of smooth?
Absolutely! Using crunchy peanut butter will add texture to the filling and enhance the overall experience of each cup, offering a great contrast to the chewy granola.
How long should I bake the cups if I want them extra crispy?
For extra crispy cups, extend the baking time to 12-15 minutes, but watch closely to prevent burning. Crisp cups will hold up better when filled.
Conclusion
Creating these chocolate granola cups with peanut butter filling is both a satisfying and enjoyable experience. You’ll begin to appreciate the versatility of granola and the indulgent combination of flavors that chocolate and peanut butter can provide. Each bite is a reminder that snacks can be nourishing as well as delicious.
So gather your ingredients, unleash your creativity, and treat yourself to these delightful cups. Whether for breakfast, a midday snack, or dessert, they will surely become a beloved staple in your home.
Recipe Card
Notes
Additional serving suggestions: pair with a crisp salad, garlic bread, or roasted seasonal vegetables for balance.
For make-ahead, prep components separately and assemble just before heating to preserve texture.
Taste and adjust with acid (lemon/vinegar) and salt right at the end to wake up flavors.