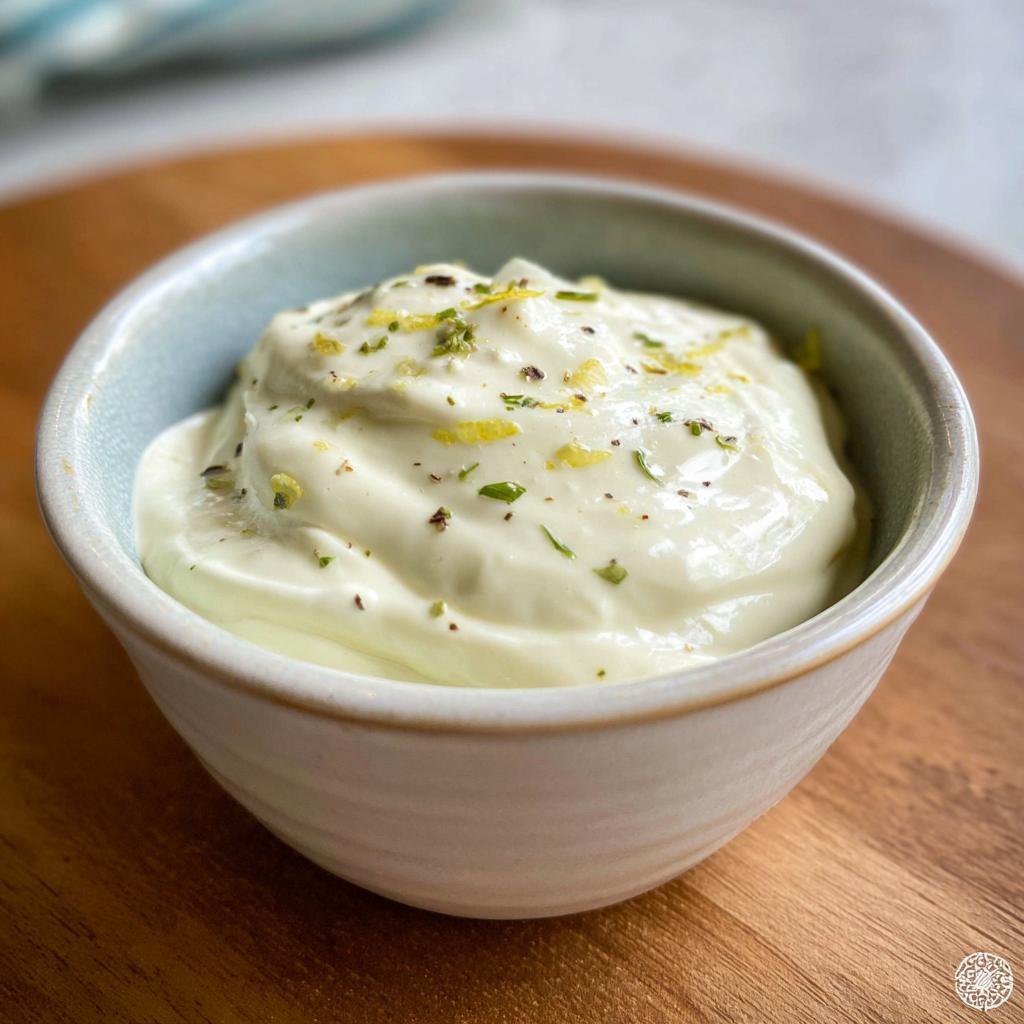
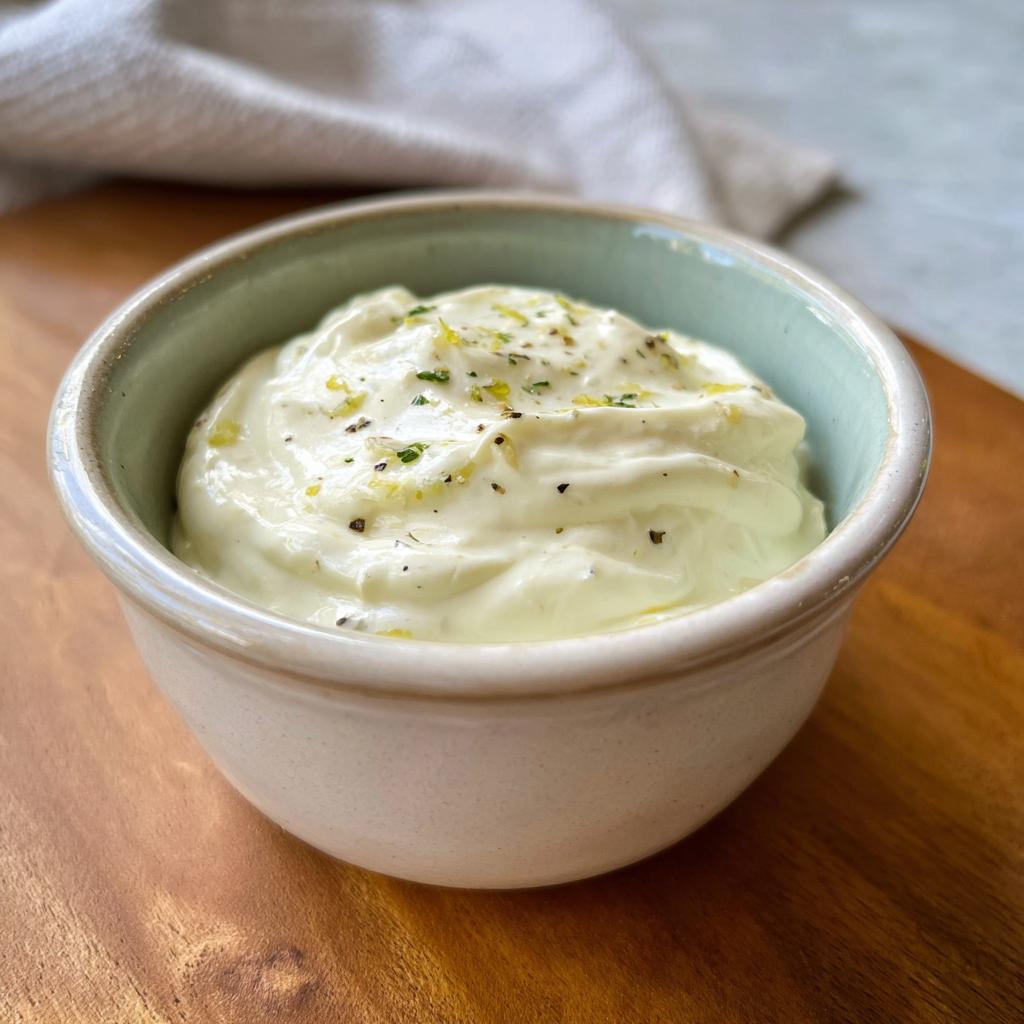
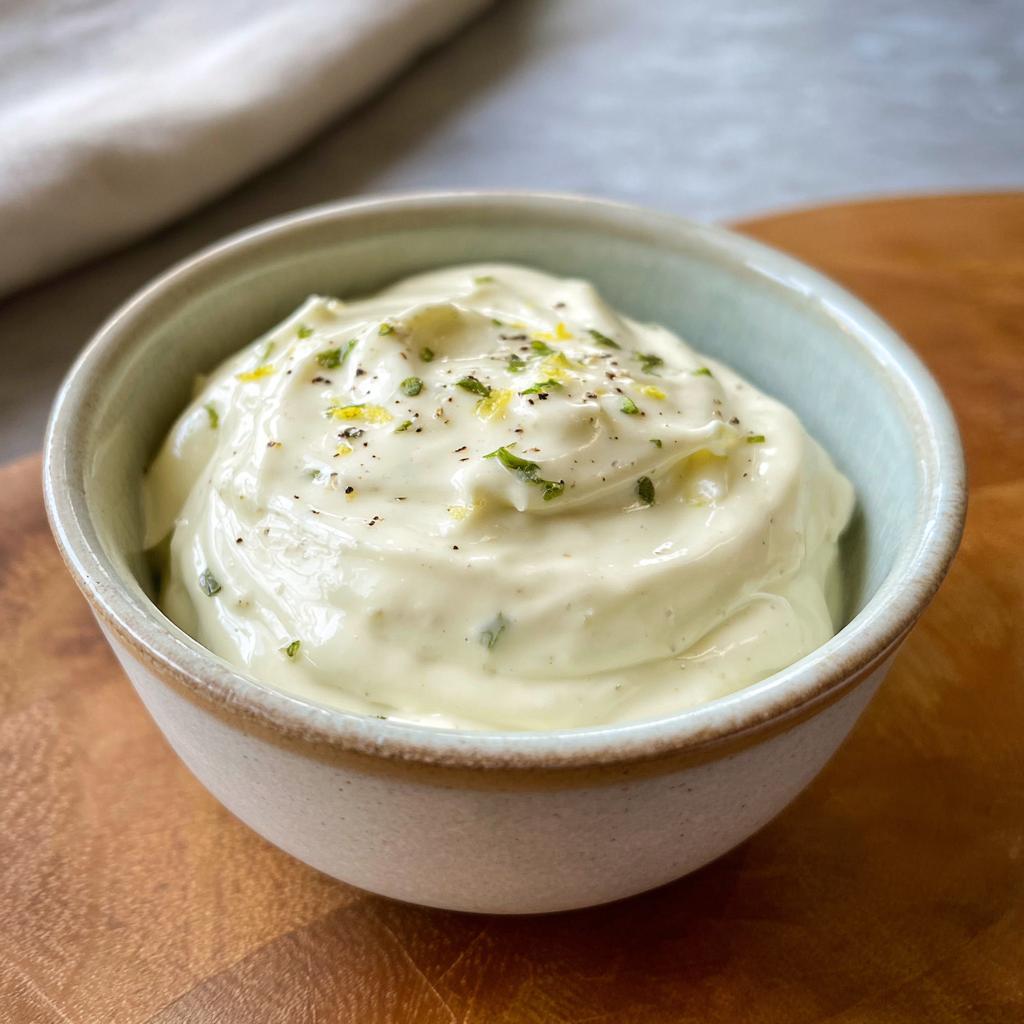
Garlic aioli has been my secret weapon for elevating simple meals for years. I first discovered its magic at a little bistro in Paris, where it was served alongside perfectly roasted chicken. The creamy, pungent sauce was so addictive, I practically licked the plate clean! It’s incredibly versatile, transforming everything from roasted vegetables to a simple sandwich into something spectacular. For those who love a good dip, you’ll find this aioli pairs wonderfully with things like roasted cherry tomato herb pasta. This rich, garlicky concoction is easier to make than you might think, and it brings a touch of gourmet flair to any table. Let’s get cooking!
Why You’ll Love This Garlic Aioli
This isn’t just any sauce; it’s a flavor game-changer! Here’s why you’ll be hooked:
- It’s incredibly easy to whip up in minutes.
- The creamy texture is pure indulgence.
- Its versatility is unmatched – perfect for dips, spreads, and more.
- It adds a gourmet touch to everyday meals, like serving it alongside a rich creamy roasted tomato soup.
- You can customize the garlic intensity to your liking.
- It’s a fantastic way to impress guests with minimal effort.
- This aioli is a perfect complement to many dishes, especially when you’re making something like a creamy tomato and herb bake.
- It’s a simple yet impactful flavor boost for almost anything!
Ingredients for Garlic Aioli
Whipping up this delicious garlic aioli is a breeze with just a few simple ingredients. Each one plays a crucial role in creating that signature creamy, pungent flavor that makes it so irresistible. It’s the perfect companion, whether you’re serving it with something light like a roasted tomato and basil soup or a heartier dish.
- 1 cup mayonnaise – This forms the creamy base of our aioli. Use a good quality one for the best flavor.
- 4 cloves garlic, minced – The star of the show! Freshly minced garlic provides that essential pungent kick.
- 1 tablespoon lemon juice – A touch of acidity brightens the flavor and cuts through the richness.
- 1/2 teaspoon salt – Essential for enhancing all the other flavors.
- 1/4 teaspoon black pepper – Adds a subtle warmth and depth.

How to Make Garlic Aioli
Let’s get this creamy, garlicky goodness made! While this recipe doesn’t require an oven, it’s just as simple and quick as any stovetop wonder. You’ll be amazed at how these few ingredients come together to create something so flavorful, perfect for dipping or spreading. Imagine serving this alongside a vibrant creamy roasted tomato soup or as a decadent spread for bruschetta.
- Step 1: Gather all your ingredients. Have your mayonnaise, minced garlic, lemon juice, salt, and pepper ready to go. This makes the process smooth and quick.
- Step 2: In a medium-sized bowl, combine the 1 cup mayonnaise. This is the foundation of your aioli, providing that luxurious, creamy texture.
- Step 3: Add the 4 cloves garlic, minced to the bowl. For the best flavor, I like to mince mine very finely so there are no large chunks, ensuring the garlic flavor is distributed evenly.
- Step 4: Pour in the 1 tablespoon lemon juice. This little bit of acidity is crucial; it brightens up the garlic and mayonnaise, preventing the aioli from tasting too heavy. It’s a secret weapon for a balanced flavor, much like the fresh herbs in an herb roasted tomato soup recipe.
- Step 5: Sprinkle in the 1/2 teaspoon salt and 1/4 teaspoon black pepper. Start with these amounts, as you can always add more later.
- Step 6: Stir everything together thoroughly with a whisk or spoon until the mixture is uniform in color and texture. You should see the ingredients fully incorporated, creating a smooth, pale yellow sauce. The aroma of garlic will start to become quite pronounced!
- Step 7: Taste your aioli. This is your chance to adjust the seasoning. Need more garlic? Add another minced clove. Too thick? A tiny splash more lemon juice. It’s your aioli, after all!
- Step 8: Cover the bowl tightly with plastic wrap or transfer the aioli to an airtight container. Refrigerate for at least 30 minutes. This chilling time is essential; it allows all those wonderful flavors to meld together beautifully, creating a more complex and delicious final product.
Pro Tips for the Best Garlic Aioli
Elevate your homemade garlic aioli from good to absolutely unforgettable with these simple tricks. They’re the little things that make a big difference in flavor and texture, turning a basic condiment into something truly special. Whether you’re pairing it with a rich creamy roasted tomato dip or using it as a spread, these tips will ensure success.
- Always use fresh garlic. Pre-minced garlic from a jar often has a harsh, less pleasant flavor. Mince it yourself just before mixing for the brightest taste.
- Let it rest! The refrigeration step isn’t just for chilling; it’s crucial for allowing the garlic flavor to infuse into the mayonnaise. The longer it sits, the more potent and delicious it becomes.
- Don’t be afraid to adjust. Taste and tweak the salt, lemon juice, and even garlic levels until it’s perfect for your palate.

What’s the secret to perfect garlic aioli?
The real secret is patience! Letting the aioli rest in the refrigerator allows the potent garlic flavor to mellow and meld beautifully with the creamy mayonnaise. This infusion process is key, much like how flavors develop in a slow-cooked herb roasted tomato soup recipe.
Can I make garlic aioli ahead of time?
Absolutely! This garlic aioli is perfect for meal prep. You can make it up to 3 days in advance and store it in an airtight container in the refrigerator. The flavor actually improves as it sits!
How do I avoid common mistakes with garlic aioli?
The most common pitfall is using old or pre-minced garlic, which mutes the flavor. Another mistake is not letting it rest; the raw garlic taste can be too sharp without time to mellow. Finally, don’t skip tasting and adjusting!
Best Ways to Serve Garlic Aioli
This versatile garlic aioli is fantastic with so many dishes! It’s not just for fries; think bigger! It’s wonderful as a dip for crispy roasted vegetables or as a spread on sandwiches and burgers. For a truly delightful pairing, try it alongside a warm bowl of creamy roasted tomato soup. Its rich flavor also complements grilled meats and seafood beautifully, adding a zesty punch that wakes up your palate. It even works as a base for other creamy sauces or dips.
Nutrition Facts for Garlic Aioli
Understanding the nutritional breakdown of this delicious garlic aioli can help you incorporate it wisely into your meals. It’s a rich condiment, so a little goes a long way. Remember, these numbers are approximations and can vary based on the specific mayonnaise and ingredients you use, much like how the exact nutritional profile of a creamy roasted tomato herb sauce can differ.
- Serving Size: 2 tablespoons
- Calories: 120
- Fat: 12g
- Saturated Fat: 1.5g
- Unsaturated Fat: 10.5g
- Trans Fat: 0g
- Carbohydrates: 1g
- Fiber: 0g
- Sugar: 0g
- Protein: 0.5g
- Sodium: 200mg
- Cholesterol: 5mg
Nutritional values are estimates and may vary based on specific ingredients used. This data helps you track your intake, especially if you’re mindful of things like sodium when preparing dishes like a creamy roasted tomato dip.
How to Store and Reheat Garlic Aioli
Properly storing your homemade garlic aioli ensures it stays fresh and flavorful, ready whenever you need that extra punch of taste. I’ve found that the best way to keep it is in an airtight container. This prevents it from absorbing other odors in the fridge and helps maintain its creamy texture. It’s a fantastic condiment to have on hand, especially if you often make dishes like a creamy roasted tomato and spinach meal.
For refrigerated storage, make sure the aioli is completely cooled before sealing it in a glass or plastic container. It will keep well in the refrigerator for about 3 to 4 days. If you want to store it for longer, freezing is an option, though the texture might change slightly upon thawing. It can be frozen for up to 3 months. To reheat, simply thaw it overnight in the refrigerator. If the texture seems a bit separated, a quick whisk should bring it back together. This makes it super convenient, similar to how you can prepare components for a creamy tomato herb risotto ahead of time.
Frequently Asked Questions About Garlic Aioli
Can I make garlic aioli with roasted garlic?
Absolutely! Using roasted garlic instead of raw minced garlic gives your aioli a sweeter, milder, and more nuanced flavor. Roast a head of garlic until soft, then mash the cloves into a paste before mixing it with the mayonnaise and other ingredients. This is a fantastic way to add depth, similar to how roasting tomatoes enhances their flavor for a creamy roasted tomato soup.
What’s the difference between aioli and mayonnaise?
Traditionally, aioli is an emulsion of garlic and olive oil, with lemon juice. However, modern interpretations, like this recipe, often use mayonnaise as a base and add garlic. So, while this recipe is a garlic-infused mayonnaise, it functions like a true aioli in its versatility and flavor profile, perfect for pairing with dishes like a creamy tomato herb risotto.
How can I make a vegan garlic aioli?
To create a vegan version, simply substitute the regular mayonnaise with a high-quality vegan mayonnaise. Many excellent plant-based options are available that work wonderfully as a base. The rest of the ingredients – garlic, lemon juice, salt, and pepper – are already vegan-friendly, making it easy to adapt this recipe for a creamy roasted tomato soup vegan option.
My aioli tastes too strong. What can I do?
If the garlic flavor is too overpowering for your liking, don’t worry! You can mellow it out by letting the aioli rest in the refrigerator for a longer period, as the flavors will meld and soften. You can also add a bit more mayonnaise or a touch more lemon juice to balance the intensity. This is a common consideration, much like adjusting the herb blend in an herb roasted tomato soup recipe.
Variations of Garlic Aioli You Can Try
Once you’ve mastered the basic garlic aioli, it’s time to get creative! I love experimenting with different flavors to match specific dishes or moods. These variations are fantastic for adding a unique twist, whether you’re preparing a vibrant creamy roasted tomato dip or a robust pasta dish.
- Spicy Sriracha Aioli: Stir in 1-2 teaspoons of sriracha or your favorite hot sauce for a fiery kick. This is amazing on burgers or as a dip for crispy fries.
- Smoked Paprika Aioli: Add 1/2 teaspoon of smoked paprika to the mix. It gives a beautiful color and a subtle smoky depth that pairs wonderfully with grilled meats or as a base for a creamy tomato herb risotto.
- Lemon-Herb Aioli: Mix in 1 tablespoon of fresh chopped herbs like parsley, chives, or dill. The added freshness complements lighter dishes, making it perfect for serving with fish or a side of roasted cherry tomato herb pasta.
- Roasted Garlic & Rosemary Aioli: For an even deeper, sweeter garlic flavor, use roasted garlic instead of raw. A pinch of finely chopped fresh rosemary adds an earthy, aromatic note, ideal for pairing with roasted vegetables or a hearty creamy roasted tomato soup.

Incredible Garlic Aioli: 4 Simple Steps To Flavor
- Total Time: 35 minutes
- Yield: 1 cup
- Diet: Vegetarian
Description
Learn how to make a simple and delicious garlic aioli. This versatile sauce is perfect as a dip, spread, or condiment.
Ingredients
- 1 cup mayonnaise
- 4 cloves garlic, minced
- 1 tablespoon lemon juice
- 1/2 teaspoon salt
- 1/4 teaspoon black pepper
Instructions
- In a medium bowl, combine mayonnaise, minced garlic, lemon juice, salt, and pepper.
- Stir until all ingredients are well combined.
- Taste and adjust seasoning if needed.
- Cover and refrigerate for at least 30 minutes to allow flavors to meld.
- Serve your garlic aioli with your favorite dishes.
Notes
- For a stronger garlic flavor, use more garlic.
- You can substitute lime juice for lemon juice.
- Add a pinch of paprika for color.
- Prep Time: 5 minutes
- Cook Time: 0 minutes
- Category: Condiment
- Method: No-cook
- Cuisine: Mediterranean
Nutrition
- Serving Size: 2 tablespoons
- Calories: 120
- Sugar: 0g
- Sodium: 200mg
- Fat: 12g
- Saturated Fat: 1.5g
- Unsaturated Fat: 10.5g
- Trans Fat: 0g
- Carbohydrates: 1g
- Fiber: 0g
- Protein: 0.5g
- Cholesterol: 5mg


