Introduction to Pineapple Bread
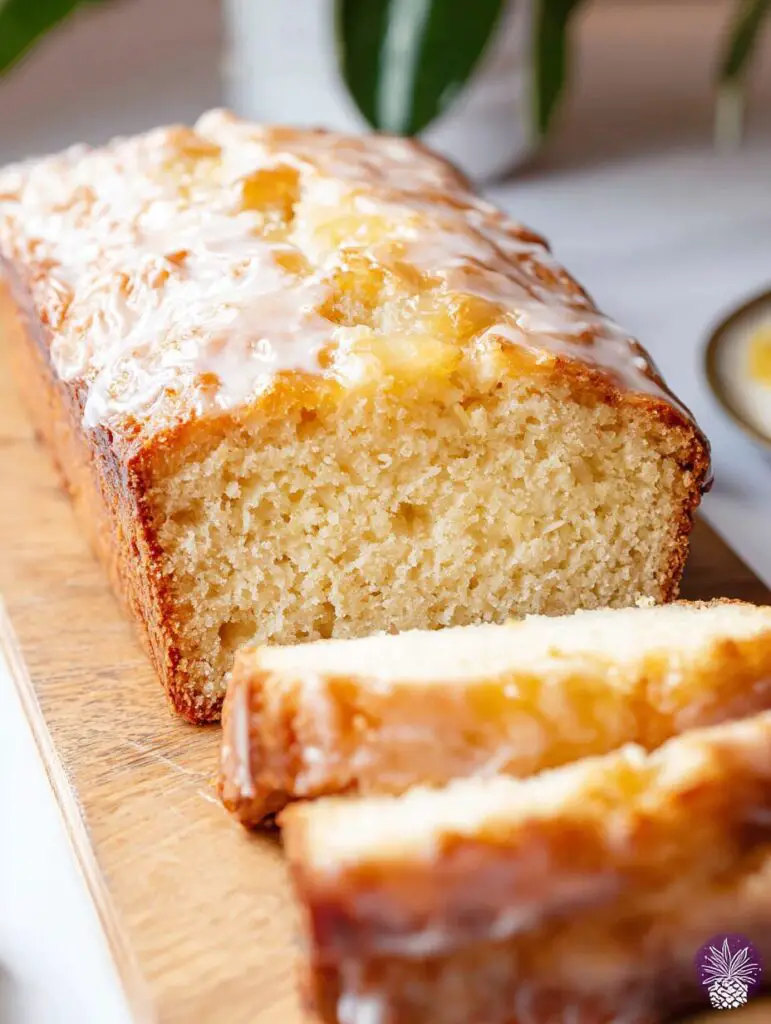
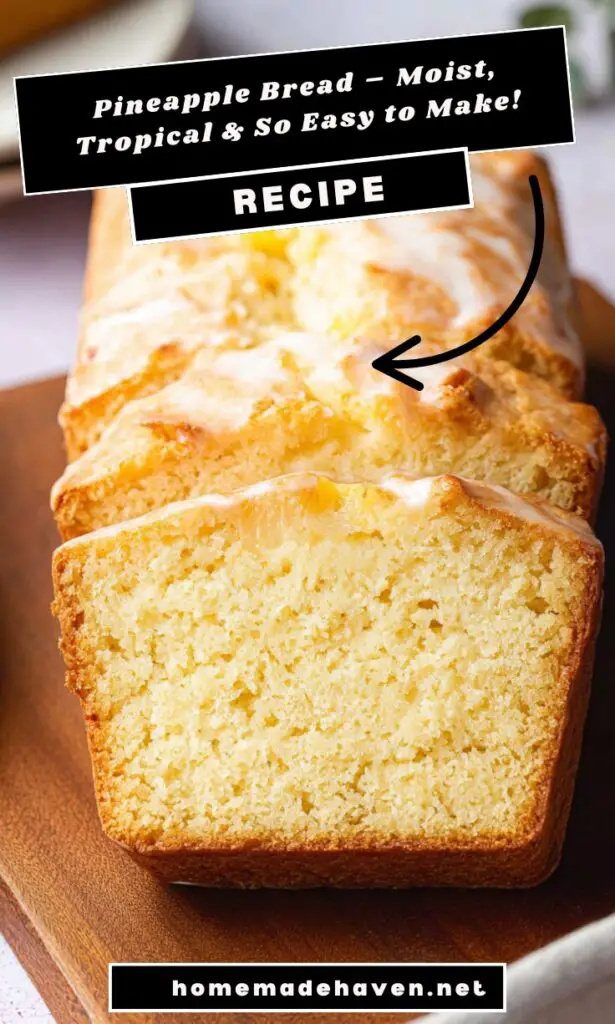
Welcome to the delightful world of Pineapple Bread! If you’re like me, juggling a busy schedule while trying to whip up something delicious can feel like a high-wire act. This tropical pineapple quick bread is the perfect solution for those hectic mornings or lazy afternoons. It’s sweet, moist, and oh-so-easy to make. Imagine the aroma wafting through your kitchen as it bakes, inviting your loved ones to gather around. Whether it’s breakfast, a snack, or a treat to impress guests, this recipe is sure to bring smiles and satisfaction to your table.
Why You’ll Love This Pineapple Bread
This Pineapple Bread is a game-changer for busy moms and professionals alike. It’s quick to whip up, taking just 15 minutes of prep time. The sweet, tropical flavor is a delightful escape from the everyday routine. Plus, it’s versatile enough to serve at breakfast, as a snack, or even as a dessert. With its moist texture and rich taste, it’s bound to become a family favorite in no time!
Ingredients for Pineapple Bread
Gathering the right ingredients is the first step to creating your delicious Pineapple Bread. Here’s what you’ll need:
- All-purpose flour: This is the backbone of your bread, providing structure and a tender crumb.
- Sugar: Adds sweetness and helps create that lovely golden crust. You can use granulated or even brown sugar for a deeper flavor.
- Baking soda: This leavening agent helps the bread rise, giving it that light and fluffy texture.
- Salt: Just a pinch enhances the flavors and balances the sweetness.
- Unsalted butter: Softened butter adds richness and moisture. If you’re in a pinch, you can substitute with vegetable oil.
- Eggs: They bind the ingredients together and contribute to the bread’s structure and moisture.
- Crushed pineapple: The star of the show! It brings a tropical sweetness and moisture. Make sure to drain it well to avoid a soggy loaf.
- Vanilla extract: A splash of vanilla adds depth and enhances the overall flavor.
For those looking to get creative, consider adding chopped nuts or shredded coconut for extra texture and flavor. You can find all the exact measurements at the bottom of the article, ready for printing. Happy baking!
How to Make Pineapple Bread
Now that you have your ingredients ready, let’s dive into the fun part—making your Pineapple Bread! Follow these simple steps, and you’ll have a delicious tropical pineapple quick bread in no time.
Step 1: Preheat the Oven
First things first, preheat your oven to 350°F (175°C). This step is crucial because it ensures your bread bakes evenly. While the oven warms up, grease your loaf pan with a bit of butter or cooking spray. This will help your bread slide out easily once it’s baked.
Step 2: Mix Dry Ingredients
In a large bowl, combine the all-purpose flour, sugar, baking soda, and salt. Whisk them together until they’re well blended. This step is important because it evenly distributes the baking soda and salt, ensuring your bread rises perfectly. Plus, it’s a great way to get your kids involved—let them help with the whisking!
Step 3: Cream Butter and Sugar
In another bowl, cream the softened butter and sugar together until the mixture is light and fluffy. This process is key for creating a tender texture in your bread. The air you incorporate while creaming will help the bread rise beautifully. Don’t rush this step; take your time to get it just right!
Step 4: Add Eggs
Next, add the eggs one at a time, mixing well after each addition. This is important because it allows each egg to fully incorporate into the batter, creating a smooth mixture. It’s like building a strong foundation for your bread—each egg adds moisture and richness.
Step 5: Incorporate Pineapple and Vanilla
Now, stir in the crushed pineapple and vanilla extract. These ingredients are what make this bread a tropical delight! The pineapple adds sweetness and moisture, while the vanilla enhances the overall flavor. Just imagine the aroma filling your kitchen!
Step 6: Combine Wet and Dry Ingredients
Gradually add the dry ingredients to the wet mixture. Mix until just combined—don’t overdo it! A few lumps are perfectly fine. Overmixing can lead to a dense bread, and we want that light, fluffy texture. Think of it as a gentle hug for your batter!
Step 7: Pour and Bake
Pour the batter into your prepared loaf pan, smoothing the top with a spatula. Bake in the preheated oven for 50-60 minutes. You’ll know it’s done when a toothpick inserted in the center comes out clean. The anticipation will be worth it as the sweet scent fills your home!
Step 8: Cooling
Once baked, let the bread cool in the pan for about 10 minutes. This step is crucial for maintaining the bread’s structure. After that, transfer it to a wire rack to cool completely. This will help prevent sogginess and ensure a perfect slice every time.

Tips for Success
- Make sure your butter is softened for easy creaming.
- Don’t skip draining the pineapple; excess moisture can lead to a soggy loaf.
- Use a toothpick to check for doneness; it should come out clean.
- Let the bread cool completely before slicing for the best texture.
- Store leftovers in an airtight container to keep it fresh.
Equipment Needed
- Loaf pan: A standard 9×5 inch pan works best. If you don’t have one, a round cake pan can be used.
- Mixing bowls: Use at least two—one for dry ingredients and one for wet. Any size will do!
- Whisk: A whisk is great for mixing dry ingredients. A fork can work in a pinch.
- Spatula: A rubber spatula helps in folding and pouring the batter smoothly.
- Toothpick: Essential for checking if your bread is done baking.
Variations
- Nutty Delight: Add 1/2 cup of chopped walnuts or pecans for a crunchy texture.
- Coconut Twist: Stir in 1/2 cup of shredded coconut for an extra tropical flair.
- Spiced Up: Incorporate 1 teaspoon of cinnamon or nutmeg for a warm, cozy flavor.
- Gluten-Free Option: Substitute all-purpose flour with a gluten-free flour blend for a gluten-free version.
- Vegan Version: Replace eggs with flax eggs (1 tablespoon of ground flaxseed mixed with 2.5 tablespoons of water) and use coconut oil instead of butter.
Serving Suggestions
- Serve warm slices with a pat of butter for a comforting treat.
- Pair with a tropical fruit salad for a refreshing breakfast.
- Enjoy alongside a cup of coffee or tea for a delightful afternoon snack.
- Garnish with fresh mint leaves for a pop of color and flavor.
- Wrap slices in parchment paper for a charming picnic presentation.
FAQs about Pineapple Bread
As you embark on your Pineapple Bread journey, you might have a few questions. Here are some common queries I’ve encountered, along with helpful answers to guide you along the way.
Can I use fresh pineapple instead of canned?
Absolutely! Fresh pineapple can be used, but make sure to finely chop it and drain any excess juice. This will help maintain the right moisture level in your tropical pineapple quick bread.
How do I store leftover Pineapple Bread?
Store your Pineapple Bread in an airtight container at room temperature for up to a week. If you want to keep it longer, wrap it tightly in plastic wrap and freeze it for up to three months.
Can I make this bread ahead of time?
Yes! Pineapple Bread actually tastes even better the next day as the flavors meld together. You can bake it a day in advance and store it covered at room temperature.
What can I serve with Pineapple Bread?
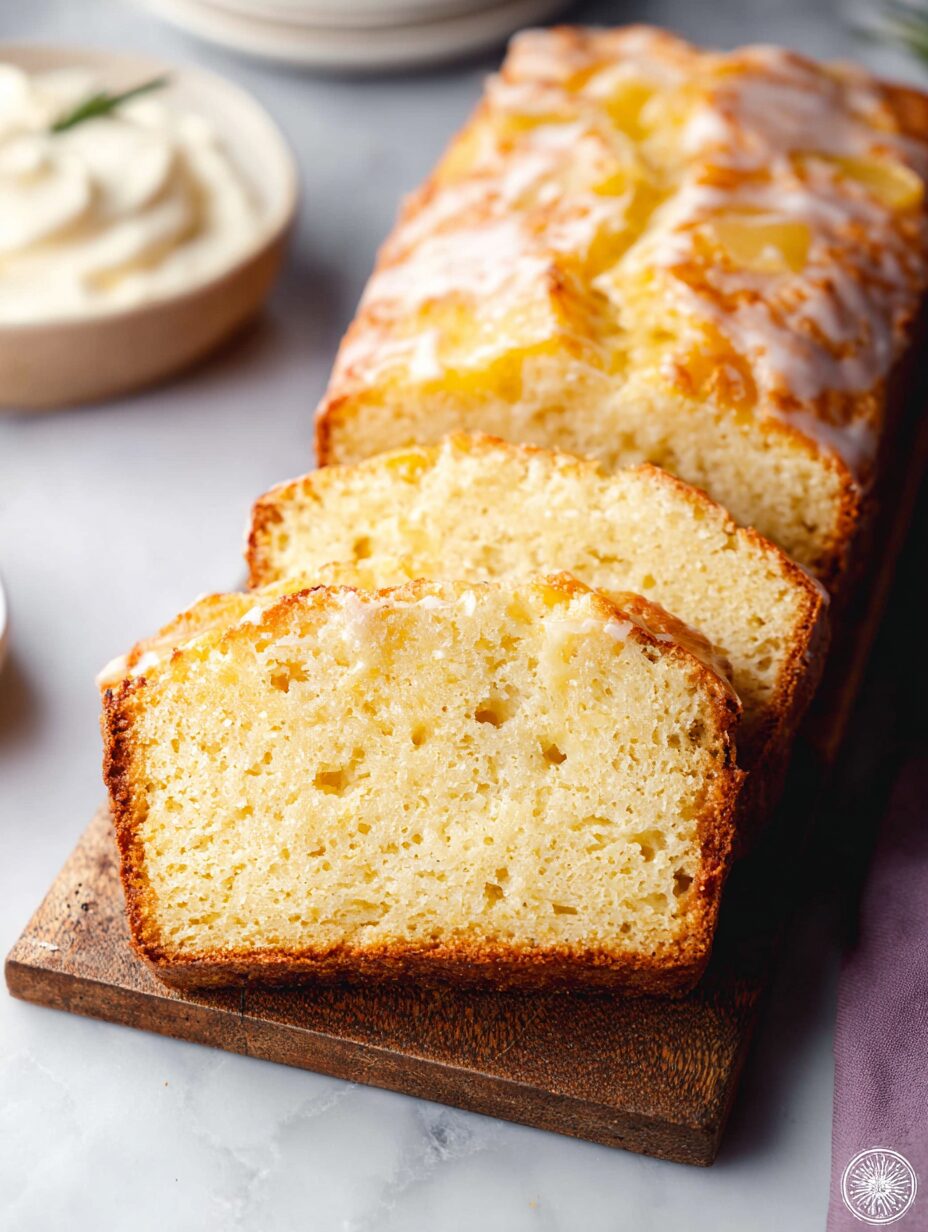
This bread pairs wonderfully with a tropical fruit salad or a dollop of whipped cream. It’s also delightful with a cup of coffee or tea for a cozy afternoon treat.
Can I add other fruits to the recipe?
Definitely! Feel free to experiment by adding chopped bananas or mangoes for a fruity twist. Just remember to adjust the moisture levels accordingly to keep your bread from becoming too wet.

Final Thoughts
Making Pineapple Bread is more than just baking; it’s about creating moments of joy in your kitchen. The sweet aroma that fills your home is like a warm hug, inviting everyone to gather and share. Each slice is a little piece of tropical paradise, perfect for breakfast or a snack. I love how this recipe brings smiles to my family’s faces, turning ordinary days into something special. So, roll up your sleeves, embrace the process, and let this delightful tropical pineapple quick bread become a cherished part of your culinary adventures. Happy baking!
Print
Pineapple Bread: Discover the Secret to Deliciousness!
- Total Time: 1 hour 15 minutes
- Yield: 1 loaf
- Diet: Vegetarian
Description
Pineapple Bread is a delightful tropical quick bread that combines the sweetness of pineapple with a moist, tender crumb, perfect for breakfast or as a snack.
Ingredients
- 2 cups all-purpose flour
- 1 cup sugar
- 1 teaspoon baking soda
- 1/2 teaspoon salt
- 1/2 cup unsalted butter, softened
- 2 large eggs
- 1 cup crushed pineapple, drained
- 1 teaspoon vanilla extract
Instructions
- Preheat the oven to 350°F (175°C) and grease a loaf pan.
- In a large bowl, mix together the flour, sugar, baking soda, and salt.
- In another bowl, cream the butter and sugar until light and fluffy.
- Add the eggs one at a time, mixing well after each addition.
- Stir in the crushed pineapple and vanilla extract.
- Gradually add the dry ingredients to the wet ingredients, mixing until just combined.
- Pour the batter into the prepared loaf pan.
- Bake for 50-60 minutes or until a toothpick inserted in the center comes out clean.
- Let cool in the pan for 10 minutes before transferring to a wire rack to cool completely.
Notes
- For added flavor, consider adding chopped nuts or coconut to the batter.
- This bread can be stored in an airtight container for up to a week.
- It can also be frozen for up to three months.
- Prep Time: 15 minutes
- Cook Time: 60 minutes
- Category: Baking
- Method: Baking
- Cuisine: Tropical
Nutrition
- Serving Size: 1 slice
- Calories: 180
- Sugar: 12g
- Sodium: 150mg
- Fat: 7g
- Saturated Fat: 4g
- Unsaturated Fat: 2g
- Trans Fat: 0g
- Carbohydrates: 25g
- Fiber: 1g
- Protein: 2g
- Cholesterol: 40mg


