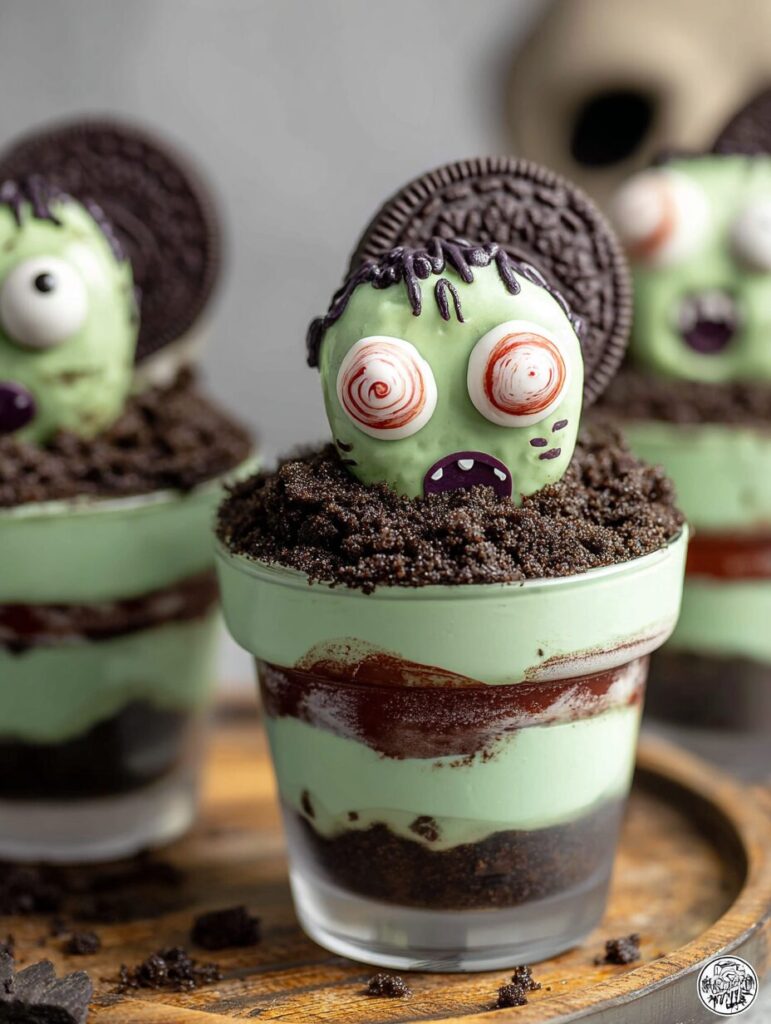
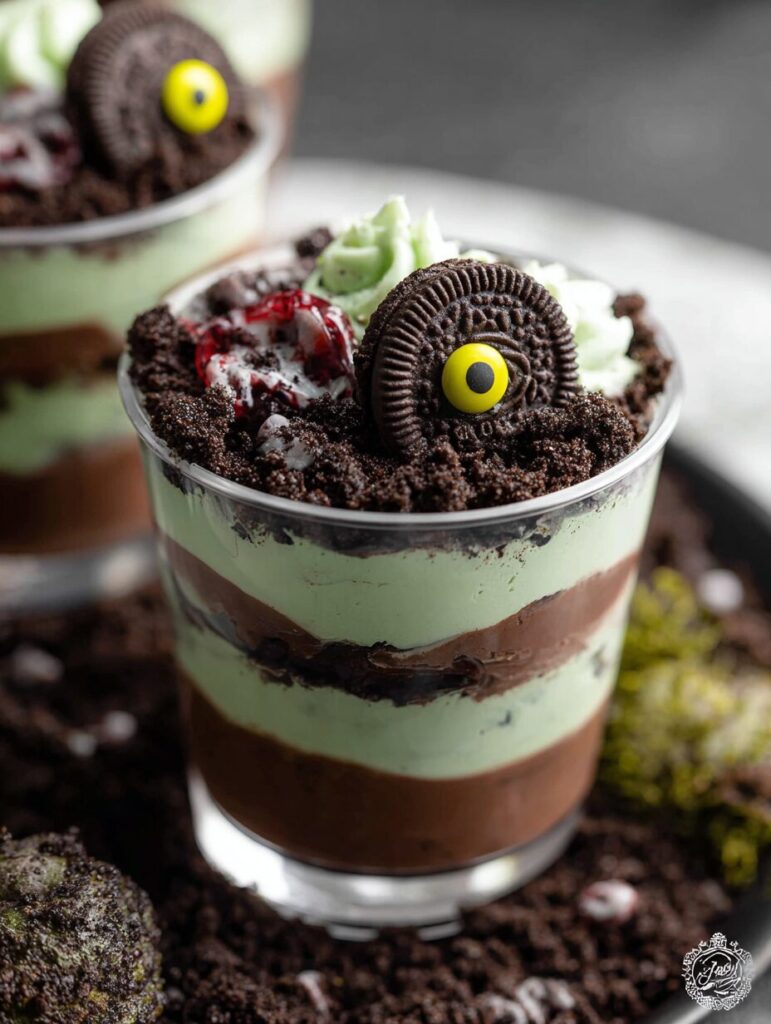
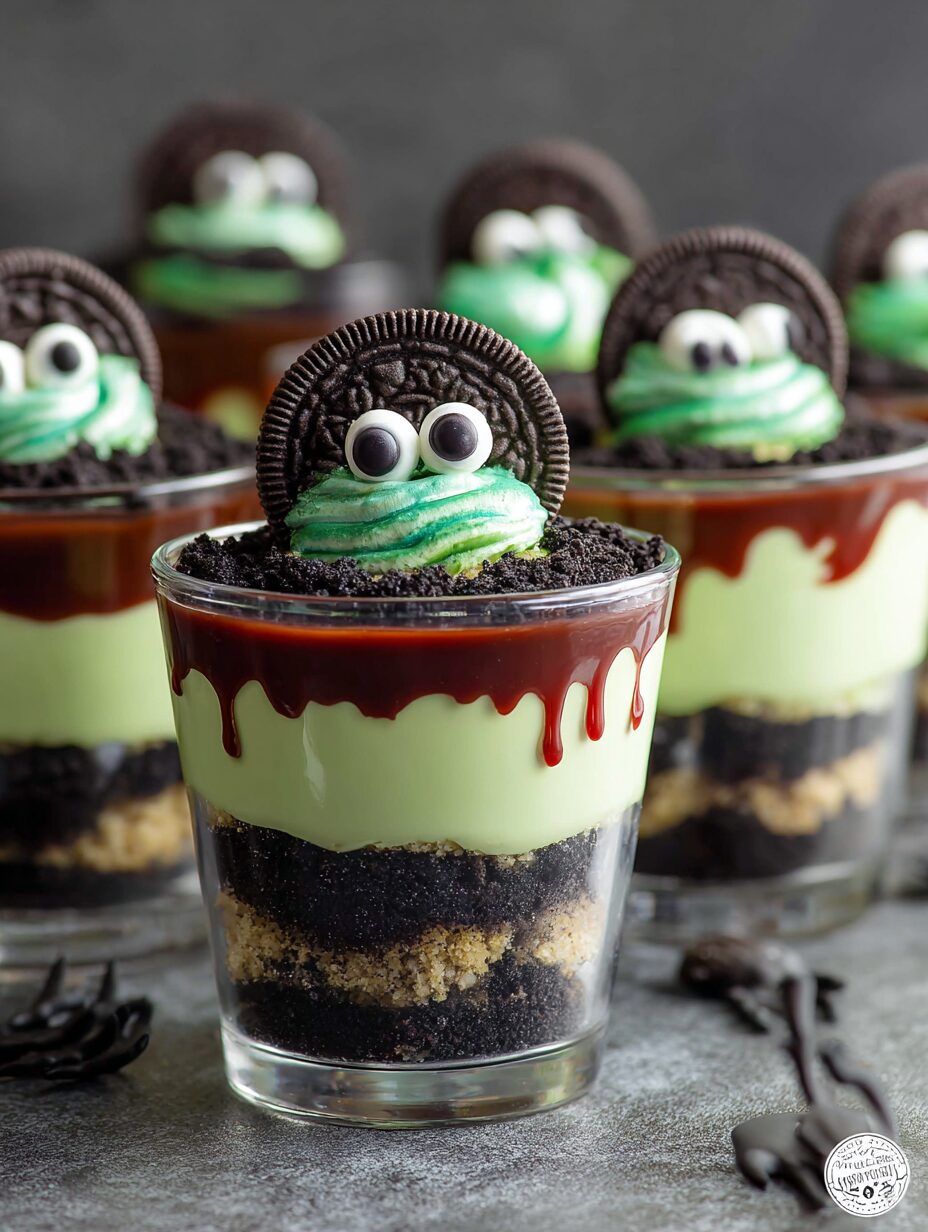
When it comes to Halloween desserts, nothing grabs attention quite like Zombie Dirt Pudding Cups. This fun, no-bake treat is creepy, delicious, and guaranteed to thrill kids and adults alike. With layers of minty Oreo “dirt,” creamy pudding dyed an eerie green, and zombie cookies peeking out from the graveyard scene, it’s the ultimate dessert for your spooky party table.
If you’ve been searching for an easy zombie dessert cups recipe that looks impressive but requires minimal effort, this is your answer. These Halloween dirt pudding cups deliver on both taste and presentation—sweet, minty, creamy, and a little spooky. Let’s dive into the step-by-step guide to making these zombie-themed Oreo pudding cups at home.
Why You’ll Love These Zombie Dirt Pudding Cups
- 🎃 Perfect for Halloween parties – Spooky, themed, and crowd-pleasing.
- ⏱️ Quick to make – No baking, just layering.
- 👩🍳 Beginner-friendly – Kids can help assemble.
- 🍫 Rich and indulgent – Chocolate cookies, creamy pudding, and whipped topping.
- 🧟 Customizable – Swap toppings for bones, worms, or candy pumpkins.
- 💸 Budget-friendly – Made with affordable pantry staples.
- ❄️ Make-ahead friendly – Chill in the fridge until party time.
- 🌎 Globally appealing – A treat that’s popular across the U.S. and beyond.
Ingredients for Zombie Dirt Pudding Cups
Here’s everything you’ll need to create these spooky dirt pudding cups:
- 18.7 oz package Mint Oreos (39 cookies) – Forms the dirt base and zombie heads. Substitute: classic Oreos, chocolate grahams, or gluten-free sandwich cookies.
- 3.3 oz box instant white chocolate pudding mix – Creates the smooth green zombie slime. Substitute: vanilla or cheesecake instant pudding.
- 2 cups whole milk (chilled) – Essential for thick pudding. Avoid skim or substitutes.
- 6–8 drops green food coloring – Gives that zombie slime color. Use matcha powder for a natural version.
- 8 oz tub Cool Whip (thawed) – Adds creaminess and volume. Substitute: homemade whipped cream.
- 8–12 large candy eyeballs + 8–12 small candy eyeballs – For those creepy zombie stares.
- Bone or skeleton sprinkles – Optional but fun for decoration.
💡 Tip: Use clear cups to show off the creepy pudding layers.
Step-by-Step Instructions
1. Prepare the Zombie Heads
- Twist apart 12 Oreos, keeping the filling side intact.
- Press one large and one small candy eyeball into the cream. These will be your zombie faces.
2. Make the “Dirt”
- Crush the remaining Oreos in a food processor until fine and soil-like.
- Set aside in a bowl.
3. Mix the Pudding
- In a large bowl, whisk milk, pudding mix, and green food coloring for 1–2 minutes until thickened.
- Fold in the Cool Whip for a fluffy, slime-green texture.
4. Layer the Cups
- Add 1–2 tbsp crushed Oreos to each cup.
- Spoon a layer of pudding mixture on top.
- Repeat until cups are filled, ending with an Oreo “dirt” layer.
5. Chill and Decorate
- Refrigerate for at least 1 hour.
- Before serving, insert the zombie cookie heads upright.
- Sprinkle with bone sprinkles or gummy worms for extra creepiness.
✔️ Science note: Using whole milk ensures the pudding stabilizes correctly; low-fat milk often results in a runny texture.

Pro Tips for Perfect Zombie Dirt Pudding Cups
How do I keep the layers neat?
Spoon the pudding along the side of the cup to avoid splattering into the Oreo dirt layers.
Can I make these ahead of time?
Yes! Prepare up to 24 hours in advance and store covered in the fridge. Add zombie heads just before serving to avoid sogginess.
What if I don’t have a food processor?
Place Oreos in a ziplock bag and crush with a rolling pin. It gives a chunkier, rustic dirt look.
Best Ways to Serve
These Halloween graveyard dirt cups are best served:
- At Halloween parties alongside treats like Pumpkin Cupcakes or Spiderweb Brownies.
- As a kid-friendly activity—set out toppings like worms, pumpkins, and sprinkles for DIY decorating.
- In a trifle dish for a large crowd version of creepy Halloween pudding cups.
Nutrition Information (per cup, approx.)
- Calories: 280
- Fat: 12g
- Saturated Fat: 6g
- Carbohydrates: 38g
- Sugar: 26g
- Protein: 3g
- Sodium: 190mg
(Values vary depending on substitutions.)
Storage & Leftovers
- Refrigerator: Keep in an airtight container up to 3 days.
- Freezer: Not recommended—pudding and whipped topping do not thaw well.
- Reheating: Not applicable; serve chilled.

FAQs about Zombie Dirt Pudding Cups
Can I make these without food coloring?
Yes, leave the pudding white or use natural matcha or spinach powder for a green hue.
What cups work best?
Clear plastic party cups or glass jars show off the layers.
Can I use different cookies?
Yes—chocolate graham crackers or gluten-free sandwich cookies work well.
Are these kid-friendly?
Absolutely! Kids love decorating their own Oreo dirt cups with zombie theme.
Can I make a healthier version?
Swap Cool Whip for Greek yogurt whipped cream and use sugar-free pudding mix.
Variations
- Gluten-free: Use gluten-free Oreos.
- Vegan: Use coconut whipped cream and plant-based pudding mix.
- Extra spooky: Add gummy worms, candy tombstones, or crushed pretzels for bones.
- Flavor twist: Try pumpkin spice pudding for a fall-themed version.
Conclusion
These Zombie Dirt Pudding Cups aren’t just desserts—they’re edible Halloween decorations that bring joy, laughter, and a touch of fright to any gathering. With simple ingredients, easy steps, and endless decorating options, you can serve a treat that’s both creepy and delicious.
Print
Zombie Dirt Pudding Cups – A Spooky Halloween Treat Everyone Will Love
Ingredients
▢18.7 ounce package Mint Oreos, (39 cookies)
▢3.3 ounce box Instant white chocolate pudding mix
▢2 cups whole milk, , chilled (see note)
▢6-8 drops green food color
▢8 ounce tub Cool Whip, , thawed (see note)
▢8-12 large candy eyeballs
▢8-12 small candy eyeballs
▢Bone or skeleton sprinkles
Instructions
Gently twist one side off 12 of the Oreo cookies so the filling remains intact. Set the cookie with exposed filling aside.
Crush the remaining Oreos into a fine dirt-like texture in a food processor and set aside.
Whisk the milk, pudding mix, and food color in a large bowl for 1-2 minutes or until the pudding thickens.
Fold the Cool Whip into the green pudding.
Sprinkle 1-2 tablespoons of Oreo crumbs into the bottom of your serving glass.
Add a layer of the pudding on top of the cookies.
Continue creating layers of crushed cookies and pudding, ending with a layer of crushed Oreos.
Chill the pudding cup for an hour to allow the pudding to set.
When you are ready to serve, gently press one large and one small candy eyeball into the exposed filling of the separated cookies to create the zombies.
Press the zombies into the pudding so they are standing upright.
Decorate the tops with bone or skeleton sprinkles if desired.
Notes
Replace the Cool Whip. The whipped topping can be replaced with homemade stabilized whipped cream, if preferred.
Use whole milk. Avoid skim milk or milk substitutes or the pudding won’t set properly.


